Coffin-shaped nails are a killer trend right now, with many clients requesting this edgy style. The mysteriously sleek nail shape looks glamorous in shades from nude to black. The coffin shape is anything but ordinary. We will walk you through the steps on how to create coffin gel nails that will slay your day.
What Are Coffin Nails?
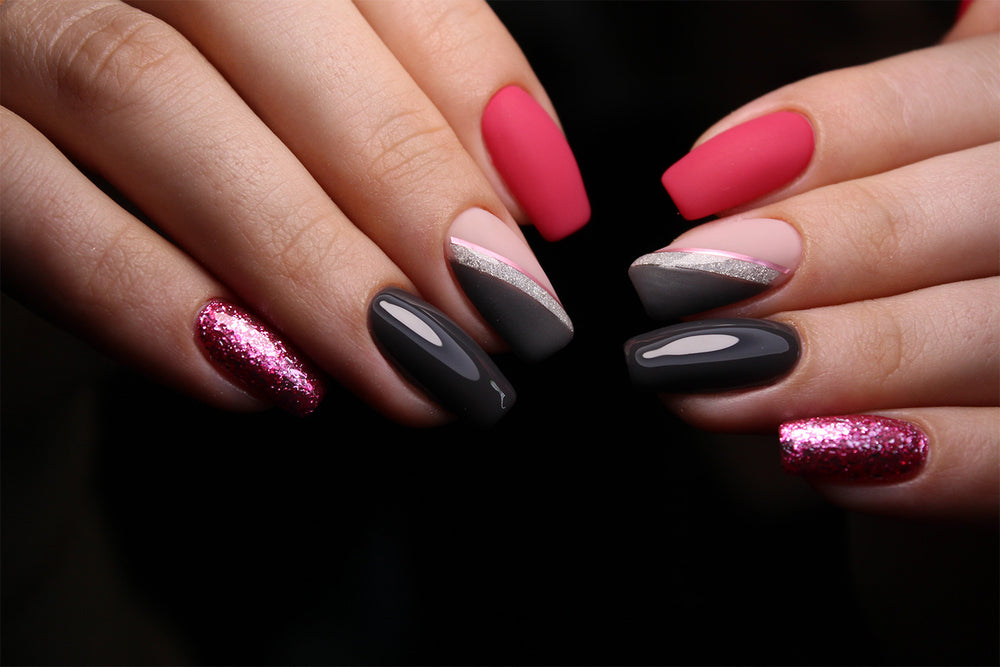
Coffin nails, also known to be confused as ballerina nails, are a medium to long-length nail shape with a squared-off tip that mimics a coffin or a ballerina’s slipper. This trendy shape possesses the dimensions of a stiletto nail with flattened ends. It can pull off any color beautifully, and we’ll prove it! The coffin shape has straight side walls and a straight tip while the ballerina has rounded side wall with a straight tip.
How To Create Coffin Gel Nails
As a professional nail tech, you must use professional-grade nail products for your gel nail services. The V Beauty Pure gel kit contains the necessary products to design a long-lasting gel manicure for your client. Grab your gel kit, and let’s get started.
Prepare Nails for the Gel Overlay and Extension
Nail prep is essential for creating a clean and textured nail surface for gel product adherence. Remember never to use water before, during, or after the gel nail procedure. Doing so will cause gel lifting and weaker gel adhesion.
The goal during nail prep is to create an excellent foundation for gel cohesion. The client wants a gel nail set that will last beautifully for up to four weeks. If lifting or breakage occurs prematurely, it causes more work and time for both you and the client in the long run.
Begin prep with your basic dry natural nail prep protocol.
- Clean the nails with a gel cleanser or alcohol to remove oil and dirt from the nails.
- Gently push back the cuticles with a cuticle pusher or orangewood stick.
- File the nails to remove rough edges and buff the surface of the nail plate to remove the natural shine.
- Trim away any excess cuticle tissue from around the cuticle area with a cuticle nipper.
- Cleanse the nails again with the gel cleanser or alcohol to remove dust and dirt from the nails.
Dehydrate and Prime
Apply the V Beauty Pure Nail Prep Dehydrator to each nail. The dehydrator will remove any residual moisture from the nails. Next, apply a thin coat of the Super Bond Primer to the natural nails. The primer will prep the nails for firm gel adherence. Cure the nails under your UV or LED lamp until the primer is completely dry, usually 30 seconds.
Apply the Nail Form
Nail forms, similar to nail tips, are necessary to sculpt the gel nail extensions. These forms attach under the natural nail’s free edge and act as a base for the gel application. You will create the length of the nail by building gel on top of the form.
First, pinch and apply the nail form to the natural nail, ensuring it sits underneath the nail’s free edge. To ensure a proper c-curve, align the tabs at the bottom of the form. Keep the middle line on top of the form aligned with the center of the nail. The tip of the nail extension you will create should line up with the cuticle area, so the form should extend straight out from that area.
Apply the Gel
Begin by applying one clear, wet gel layer throughout the natural nail and pull it down onto the nail form. A wet layer will ensure a smoothly blended nail extension. Cover the entire nail in the thin wet layer of gel. Do not cure the gel.
Next, add a dollop of the gel to the free edge and begin building the extension. Pull the gel down the length of the nail form. Ensure that the natural nails’ free edge and sidewall connect entirely to the gel extension you make. Smooth the gel and make it as even as possible. Do not focus on creating the coffin shape just yet. Concentrate on building the gel extension. You will shape the nails a little later.
Flash cure the nail, then grab your tweezers and gently pinch the form just where the natural nails’ free edge meets the gel nail extension. Pinching the nail will create a tight c-curve. Hold it for a few seconds, then place the nail back under the lamp for a complete cure. Repeat this process on every nail.
When all of the nail extensions are formed and cured, remove the nail forms. Carefully pinch the nail form where the gel meets the extension and pull it down and away from the nail. Discard the nail forms after each use unless their instructions state otherwise. Some forms are reusable if they are cleaned after each use.
Build the Apex
Begin by first applying a thin coat of gel to the entire nail from the cuticle down the length of the extension. This wet layer will eliminate excess finish filing in the end.
Next, apply a dollop of gel to the top of the nail near the cuticle. Walk the gel down the center of the nail with your brush, allowing it to self-level into the sides of the nail. The goal is to build up the apex. Then, place the nail directly into the lamp for a complete cure.
Remove the tacky/sticky layer (inhibition layer) with a gel cleanser or alcohol.
File and Streamline
File the sidewalls of the nails with a 180 grit nail file, removing the bulky areas of the gel. Blend the sidewall into the tip with the file. Next, use a cushion file to smooth the surface of the nail plate using an upward motion. Streamline the nails, primarily avoiding the apex area.
Create the Coffin
Create the coffin shape with your nail file. File a squared-off end that is perpendicular to the nail. You can taper the end or leave it wide. Most coffin-shaped nails today have a tapered nail tip.
Make sure the nail tips look square from all angles. File upwards to make the tip sharp and extra square. Check to make sure the sidewalls are straight by placing the nail file underneath the nail. Carefully file side to side if needed to even out the sidewalls.
After shaping the nails, remove the excess nail dust with a fluffy brush or cotton ball.
Paint the Nails in Pigment
Coffin nails look great dressed in any color of polish. Allow the client to select the gel polish color of their choice. If the client is indecisive, examine their skin tone for a complementary shade.
Warm skin tones radiate in orange, brown, yellow, and olive. Cool tones glow in blue, purple, pink, and black. Holidays and special events will also help you choose the perfect hue. Metallics, glitter, and matte shades are popular choices as well.
- Apply a thin, even layer of gel base coat to the nails and cure under the UV or LED lamp.
- Paint the nails in the gel polish color you choose. Use one or two coats of gel polish. Apply the polish one coat at a time in thin, even layers, making sure to cap the ends and sidewalls. Cure the nails under the lamp after each coat of gel polish.
- Apply nail art or glitter if desired in this step.
- Finish with a glossy or matte gel top coat and cure the nails one last time.
- Cleanse the nails with a gel cleanser or alcohol and cotton ball to remove the tacky inhibition layer. Doing this will leave the nails shiny and squeaky clean.
Moisturize and Finalize
Brush cuticle oil underneath the nail at the hyponychium and around the cuticle area for an extra touch of moisture. Finalize the session by buffing the nails thoroughly with a clean cotton cloth to remove all excess cuticle oil. Add paraffin wax, a hand massage, or warm towels to complete the manicure pampering session.
The Takeaway
Coffin-shaped nails are on-trend and V Beauty Pure has all of the gel products you need to create matte or glossy coffin nails in a snap. Our gel kit includes builder gel, one-step gel, gel top coat, bond primer, nail prep dehydrator, silver chrome flakes, and nail forms. This kit offers everything at a discounted bundle price.
Your client deserves the very best. Now you can deliver a flawless service with V Beauty Pure manicure products and tools. Our products allow you to create exquisite nail sets with quality products you will enjoy. Visit V Beauty Pure now to complete your professional nail service kit.
Sources: