When you first begin designing manicures, the practice of applying nail extensions with tips may seem complex. With a bit of practice, you will be mastering this technique in no time. We will lay out the steps to create a beautiful gel manicure using tips in this article.
What Is the Difference Between Nail Forms and Nail Tips?
The difference between nail forms and nail tips lies in the way they are each applied. Nail tips are plastic-shaped tips that the nail tech glues onto the top of the nail, while nail forms attach underneath the free edge of the natural nails.
Nail forms are similar to stickers because they wrap around and stick to the fingers until you remove them. Gel or acrylic is applied to the nail form, just like it is to the nail tips.
You must understand the difference between nail tips and nail forms and how to use them to know which works best for you. This knowledge will help you effectively design the nail set of your client’s dreams.
What Are the Pros and Cons of Nail Tips?
Nail tips are easier to master for some nail techs. They provide a consistent shape across every nail, and clients are more familiar with them over nail forms. Nail tips are easier to file because of their softer structure.
Tips are not meant to hold the nail’s strength, so the nail tech will apply more gel or acrylic product in that area to keep the nail structure solid. The use of more of these products has the potential to make the nails appear bulky.
For this reason, the nail tech must be aware of the product use and shaping of the nails. Extra filing requires more time, thus a more extended nail session for the client. Time is valuable. Try to be aware of your time efficiency.
What Are the Pros and Cons of Nail Forms
For new nail techs, applying nail forms tends to be difficult, thus requiring more time. Once you master the technique, nail forms are easier to use and require fewer application steps. Nail forms require fewer products and usually look thinner and more natural than nail tips because the gel or acrylic product forms the tip. They are custom for each person. Can create vast nail shapes with them.. Nail extensions created on nail forms don’t require as much filing as extensions made on nail tips. The lessened filing results in less time needed for the full nail service.
How To Apply Nail Tips
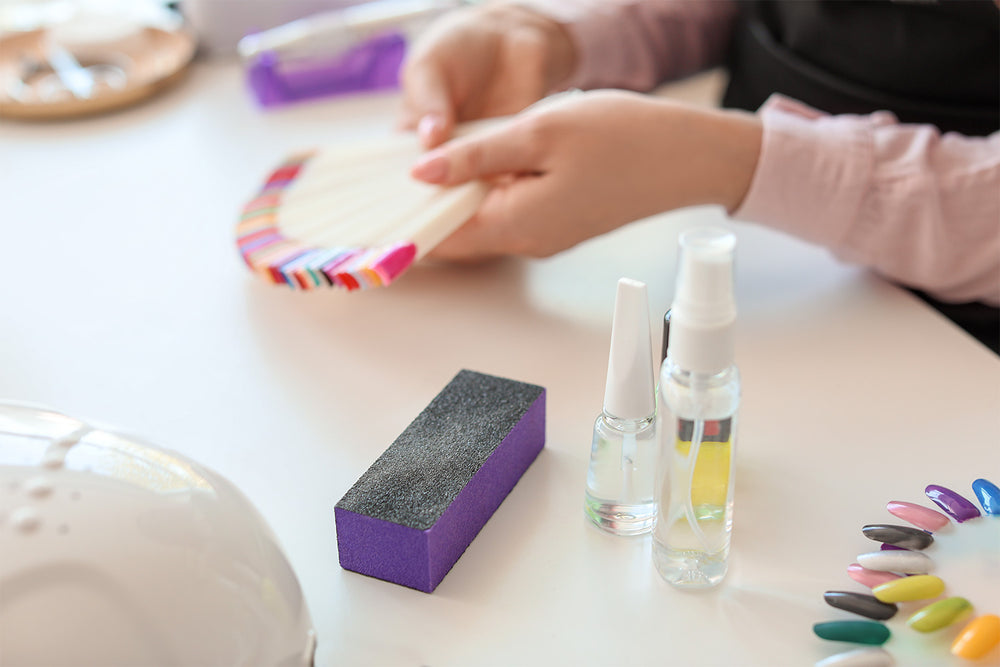
V Beauty Pure nail tips are easy to apply if you remember to follow a few basic application requirements. Before using nail tips, always prep the client’s natural nails first. Nail prep is crucial because it prepares the nails for a firm gel hold.
Nail prep includes filing, buffing, pushing the cuticles back, and cleaning the surface of the natural nails. Remove all dirt and oils from the nails with alcohol and water should never be used while prepping nails. For proper nail prep protocol, check out our VBP nail prep tutorial.
How To Size Nail Tips
Sizing the nail tip to each of your client’s fingernails is crucial in creating a nail set that is durable and long-lasting. To choose the perfect size tip for each nail, place the nail tip at the end of the client’s natural nail. The tip must cover the natural nail from side to side. If the nail tip is too small, it may cause nail lifting.
How To Apply Nail Tips With Glue
Use nail glue to adhere the nail tip to the natural nails. Never use super glue or any other adhesion method not intended for use on nails. Safety measures always come first when performing a manicure service. Follow these instructions for nail tip application.
- Apply the nail glue to the tip or free edge of the tip. Or of the client’s natural nail / optinonal.
- Apply the nail tip at a 45-degree angle against the end of the natural nail, eliminating air bubbles.
- When the nail tip touches the glue, bring it down and press against the natural nail. Make sure the nail tips are straight and hold for a few seconds.
- Cut the nail tip to the desired length with a nail nipper. Begin by trimming less rather than too much. You can always file more length away later in the nail service.
- Remove excess glue with a lint-free cloth.
How To File and Prep a Nail Tip
An E-file is used to prep the nail tip for gel application. Apply a gentle, soft motion with the file. Don’t use too much pressure. The filing roughens up the surface and provides the perfect canvas for excellent gel adherence.
- Remove the shine from the top of the nail tip with the e-file.
- Fade the nail tip into the natural nail with the file. The line where the two meet should disappear.
- Shape up the sides of the nail by filing the edges and slightly underneath the nail.
- Brush the dust from the nails.
- Apply a thin VBP Nail Prep Dehydrator coat to the natural nails only (not the nail tip).
- Apply a thin VBP Super Bond Primer coat to the natural nail (not the nail tip).
How To Apply Gel to the Nails
The V Beauty Pure Gel Kit has everything you need to build a beautiful gel nail. Use the gels in this kit to construct the gel nails.
- Apply a bead of builder gel to the stress point (the area where the nail tip meets the natural nail). Brush the gel evenly onto the entire surface of the nail. Make sure to keep the shape of the nail. Cure the nail.
- Next, apply a dollop of the one-step gel in the center of the nail. Brush it into a thin, even layer onto the nail. Cure the nail.
- Apply one last layer of the one-step gel to the nail and cure again.
File and Shape the Gel Nails
Use your e-file to file the nail’s surface, the sides, and the end of the nail. The goal here is to remove any excess gel bulk and to perfect the nail shape.
Finish shaping the nail with a nail file and buffer, if needed. Make sure the shape looks symmetrical from every angle. The sidewalls should be straight and even, and the nail’s surface should be smooth. Clean the surface of the nail with isopropyl alcohol.
Paint the Gel Nails
The final step in creating the gel nail set is to add color. Allow the client to choose their gel polish color. Apply gel polish in one or two thin, even layers on the nail plate. Cure each coat before applying the next layer of polish.
- Apply one thin, even coat of gel polish to the nails.
- Cure the nails under the LED lamp for 30 seconds.
- Apply a second coat of gel polish to the nails.
- Cure the nails under the LED lamp for 30 seconds.
- Apply the gel top coat to the nails and cure for 30 seconds.
How To Apply Crystals to Gel Nails
If your client wants a crystal design applied to the manicure, you must use the VBP V Diamond Gel adhesive. This gel adheres crystals to the nails with a firm hold. Apply crystals after you polish the nails and apply top coat. To use crystals, follow these steps:
- Apply a small amount of the V Diamond Gel with a dotting tool to the area where you want to place crystals.
- Place the crystals on the gel and carefully press them into the gel.
- Continue placing crystals over the V Diamond Gel until you create your design.
- Cure the nails for 60 seconds under the LED lamp.
Conclusion
Creating gel nails with nail tips is easier for the beginner nail tech. Nail tips do not require as much application time and attention as nail tips, making it a time-efficient way to do nail extensions.
Many advanced nail techs prefer using nail forms. This preference is due to the amount of nail product needed to build the nails. Less product is required, which lessens filing time. The nail service becomes more time-efficient because of this.
V Beauty Pure offers nail tips in stiletto and square shapes to make designing your gel or acrylic manicure more manageable. Our gels and acrylics are professional-grade and offer the highest quality on the market. We are proud to share our nail supplies with you. Visit us at V Beauty Pure for more information.
Sources: