A wise prophet once said, “I’m not superstitious. I’m just a little stitious.” That wise man was Michael Scott, and though he was not talking about a marriage proposal, it is perfectly fitting for someone starting to catch the vibe that a marriage inquiry is on its way.
Sound relatable?
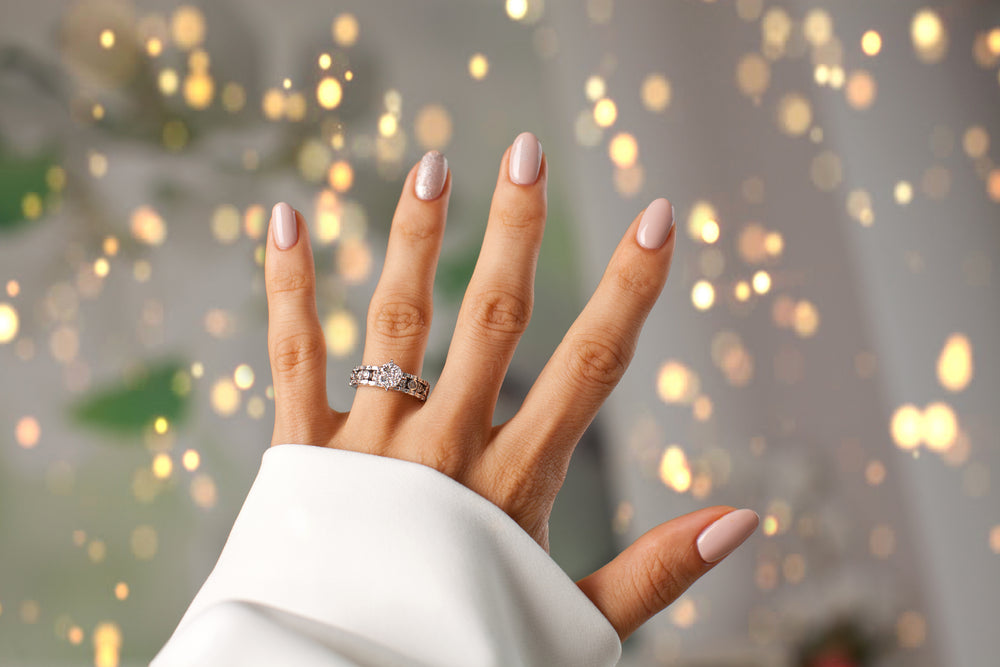
If so, you should probably make sure your nails are on point. After all, nothing is worse than having cracked or peeling nails when the spotlight is directly on your hand. Someone avoided this embarrassment by showcasing her cousin’s hand to announce her engagement on social media.
Don’t make the mistakes of soldiers from the past. Give yourself time to regularly secure an engagement-friendly manicure. Engagement nail ideas point toward a specific manicure style that looks fashionable without taking the focus away from your sparkly new engagement ring. They complement the moment without stealing the spotlight.
If you’re overwhelmed by picking these nails, read on to prepare for the perfect engagement set 💅.
What Color Nails Look Best for Engagement Pictures?
Your engagement nails can be any color you want as long as you’re excited about them. That being said, popular engagement nail polish colors are:
5 Engagement Nail Ideas
Although plain colors are the most popular, there are tons of other styles to choose from. Here are a few you can eat your heart out over.
1. French Tip
Doing a classy engagement nail look is easy with a French tip. There are many ways to achieve this look and even new ways to spice it up (here’s one of our current favs on TikTok).
Materials Needed
- Dehydrator
- Primer
- Base coat
- Nude nail polish
- White nail polish
- Top coat
- Nail brush, nail tape, or scotch tape (depending on your method)
- LED lamp
How to Create This Look
-
Free Hand: If your grip is steady enough, apply the white polish by hand, following your nail’s natural curve at the tip.
- Scotch Tape: Lay a small piece of tape across most of your nail with the end free, then paint and pull the tape off, adding minor touch-ups as needed.
- Nail Tape: Similar to scotch tape but thinner and less sticky, you can create a solid line without ruining your base polish.
6. Cure for 30-60 seconds once you’re happy with the French tip. Add a second coat if necessary and repeat the curing process.
7. Once everything is cured, add your top coat and cure a final time for 30-60 seconds.
2. Ombre
Ombre nails are a fun way to show off your nail art skills by blending two or more colors into a simple yet stunning gradient. For engagement nails, we suggest using a neutral color paired with a lighter hue of your choice. White to pink is very popular and is a great look!
Materials Needed
- Dehydrator
- Primer
- Base coat
- Colored nail polish 1
- Colored nail polish 2
- Top coat
- Blending brush or makeup sponge
- LED lamp
How to Create This Look
-
Sponge: Add a second nail color on the makeup sponge along with a small amount of the first color in bold swipes. Then gently stamp up and down on the nail until a gradient is showing.
- Brush: Apply the second nail color at the end of the nail tip and use the brush to blend, using quick up and down motions.
3. Subtle Art
Styles like swirls, thin lines, and small shapes (like hearts) can make your nails look beautiful without overshadowing your engagement ring.
As an example, check out these pink and silver glitter swirls. They’re Instagram-worthy without distracting from the ring. If you’re one of those lucky gals who already have a really good idea what your ring will look like—because, let’s face it, this decision is too important to leave to someone else—you can choose a similar metallic glitter for a more balanced look.
Materials Needed
- Dehydrator
- Primer
- Base coat
- Acrylic System - Blossom
- VBP Gel 094
- Top coat
- Liner brush L
- Liner brush S
- LED lamp
How to Create This Look
4. Featured Nail
Do you need something quick and easy that still looks incredible? Do a featured nail! Let your ring finger grab all the attention using glitter, iridescent, or chrome polish so your featured nail matches your ring.
Use our latest ✨glitter collection✨, the Leaf Collection, for this example.
Materials Needed
How to Create This Look
5. Featured Nail: 3D Art
3D art on nails is perfect for engagement photos, but they also take a lot of time and effort. Many choose to do flowers, use crystals, or make different shapes.
Here’s a quick and easy tutorial on how to create a 3D flower.
Materials Needed
- 3D Brush S
- LED lamp
- Diamond gel
- Gemstone
- Acrylic nail liquid
How to Create This Look
Create Stylish, Subtle Nails with VBP
See what’s up on our YouTube channel and in blog posts, which are full of nail art styles our experts created and instructions on how to do it yourself. Make sure to tag us in your nail Instagram pics inspired by us. We love to see it.
P.S. We can also help when it’s time for you to wear white—we’ve got an entire wedding bells acrylic collection!